
Mudroom
We finished this project about 2 years ago shortly after we moved into this house so we don’t have any progress photos. It’s a fairly small room and, as a family of 5, we really had to utilize every square inch. It was carpeted which really didn’t work since we get a lot of snow and mud. Before we moved in, my father-in-law replaced the carpet with tile and we are so glad he did. That was the only thing we did to the house before moving in. We lived with the “before” pictures for awhile before deciding what we needed and had the energy to tackle the project.
Our house is all brick and built in 1910 and this small area was put on after the fact at some point. We love the brick on the outside of our house, but it was really making this room feel dark and cramped.
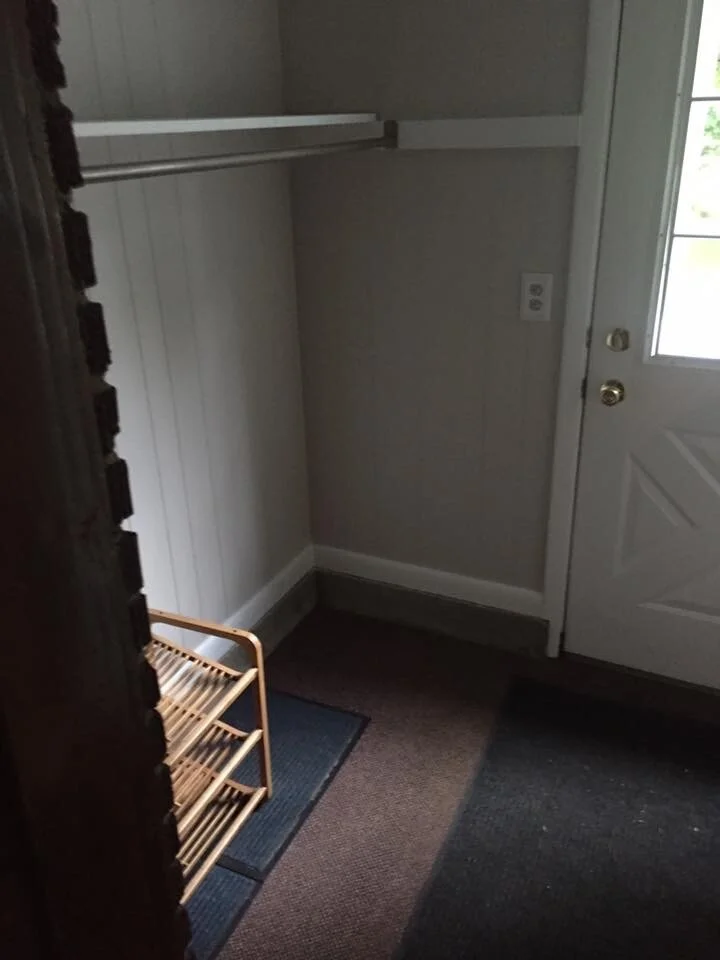

It had a simple rod and shelf but you can see the amount of space above that wasn’t utilized.

Not very functional and very sloppy looking. This is where guests usually enter and it didn’t give the best first impression.

Here’s a shot of the other side. Not only is it paneling but the wood has these little holes in them. My husband really didn’t want to get into replace the paneling and drywall. He decided to try to fill in the holes with spackle and fill the lines with caulk and it turned out great! He said it was a lot of work a lot easier than redoing the walls completely.
I wasn’t sure where to start when planning this out but ended up designing it around the baskets! I wanted each person to have their own basket and found some that we could fit 5 across plus the wood in between. I also wanted to utilize every square inch so decided on two sets of baskets each — one has winter accessories and the other summer and I rotate them with the changing seasons.

I also really liked the idea of a ledge for every day items (sunglasses, wallets, etc.) and am SO glad I did. It’s not feasible to store those items in the baskets since they are up a bit higher. The other thing we weren’t sure about and actually argued over and over again was the seat depth. I wanted it as long as possible because I knew our heavy winter coats were going to be hung up and take up a lot of depth. Thankfully I won that argument 😉
After I drew up my vision, my husband came up with the actual plan. If there’s interest, I can ask him to write up a post on how it did it, but he said it was pretty easy! We white washed the brick, added some hooks, painted the walls with some old white ceiling paint, and painted the door with a sample pot of paint (Benjamin Moore Wythe Blue) and added a little command area on the other wall, and the room was completely transformed!


We also decided to paint the trim in the hallway so help lighten it up a bit. I’m glad we left the doors wood — I think it’s a good balance for this space.
The door with the wreath leads to the basement. I added two rows of hooks on the back of that door to hold extra seasonal items (snow pants, re-usable grocery bags, swim bag, etc.).
Since I love a good before and after side by side:


