
3rd Floor Refresh
One of our many “shelter in place” projects was refreshing our 3rd floor. We have a very old home that got a lot of updates in the 60s or 70s, including the finishing of our 3rd floor. It’s such a great space for us — it has two decent-sized bedrooms and a decent-sized closet for much needed storage. One of the rooms we use as a guest room and the other is our office / overflow guest room. When looking at houses, we were very open to almost anything, but my husband works from home so we definitely needed a dedicated work space for him. This was a double bonus for us— since the office is so far from the playroom, he can’t hear the kids (or me) screaming downstairs. Refreshing this space was always very low on our priority list since I don’t go up there much, but I was just itching to paint everything being stuck at home!
1 — FRESH PAINT. We painted all of the walls Benjamin Moore White Dove in eggshell.
2 — DOOR REFRESH. Hollow wood doors got a faux paneling with trim pieces and were painted Benjamin Moore Beach Glass in pearl finish.
3 — COVER UGLY EXPOSED PIPES. My husband built a small wooden frame around them and painted them the same color as the walls.
4 — DECOR. All furniture is secondhand— gifted to us and or/passed down from family with the exception of the desk (not shown) and the wall sconces. I added some plants and fresh bed linens.
BEFORE — This is the view from our second floor hallway.

AFTER — Same view looking up the same stairs. I added some artwork that the boys made (watercolor rainbow fish with a shiny tinfoil scale). I plan to add more of their art as a gallery wall as they start creating more. My husband built a simple wood frame around the exposed pipes. He said he made a long strip of wood and nailed that to the wall and then made a separate “C” shaped wood structure that he drilled to the top of that. We hope to replace the carpet someday.

BEFORE — You curve around those stairs and this is the top half of the staircase.


AFTER — I started sanding down this wood piece. I got bored and stopped, but hope to continue sanding it and white washing it someday.

This little bookcase is nestled at the top of the stairs. The books looked wild before (no picture) but a quick rainbow organization makes it look fresh! The light on the ceiling has since been painted white around the edges.

BEFORE — At the top of the stairs to the left is the guest bedroom. I have no idea why this pillow is crooked. This comforter was so old. The bed is vintage from a family friend.
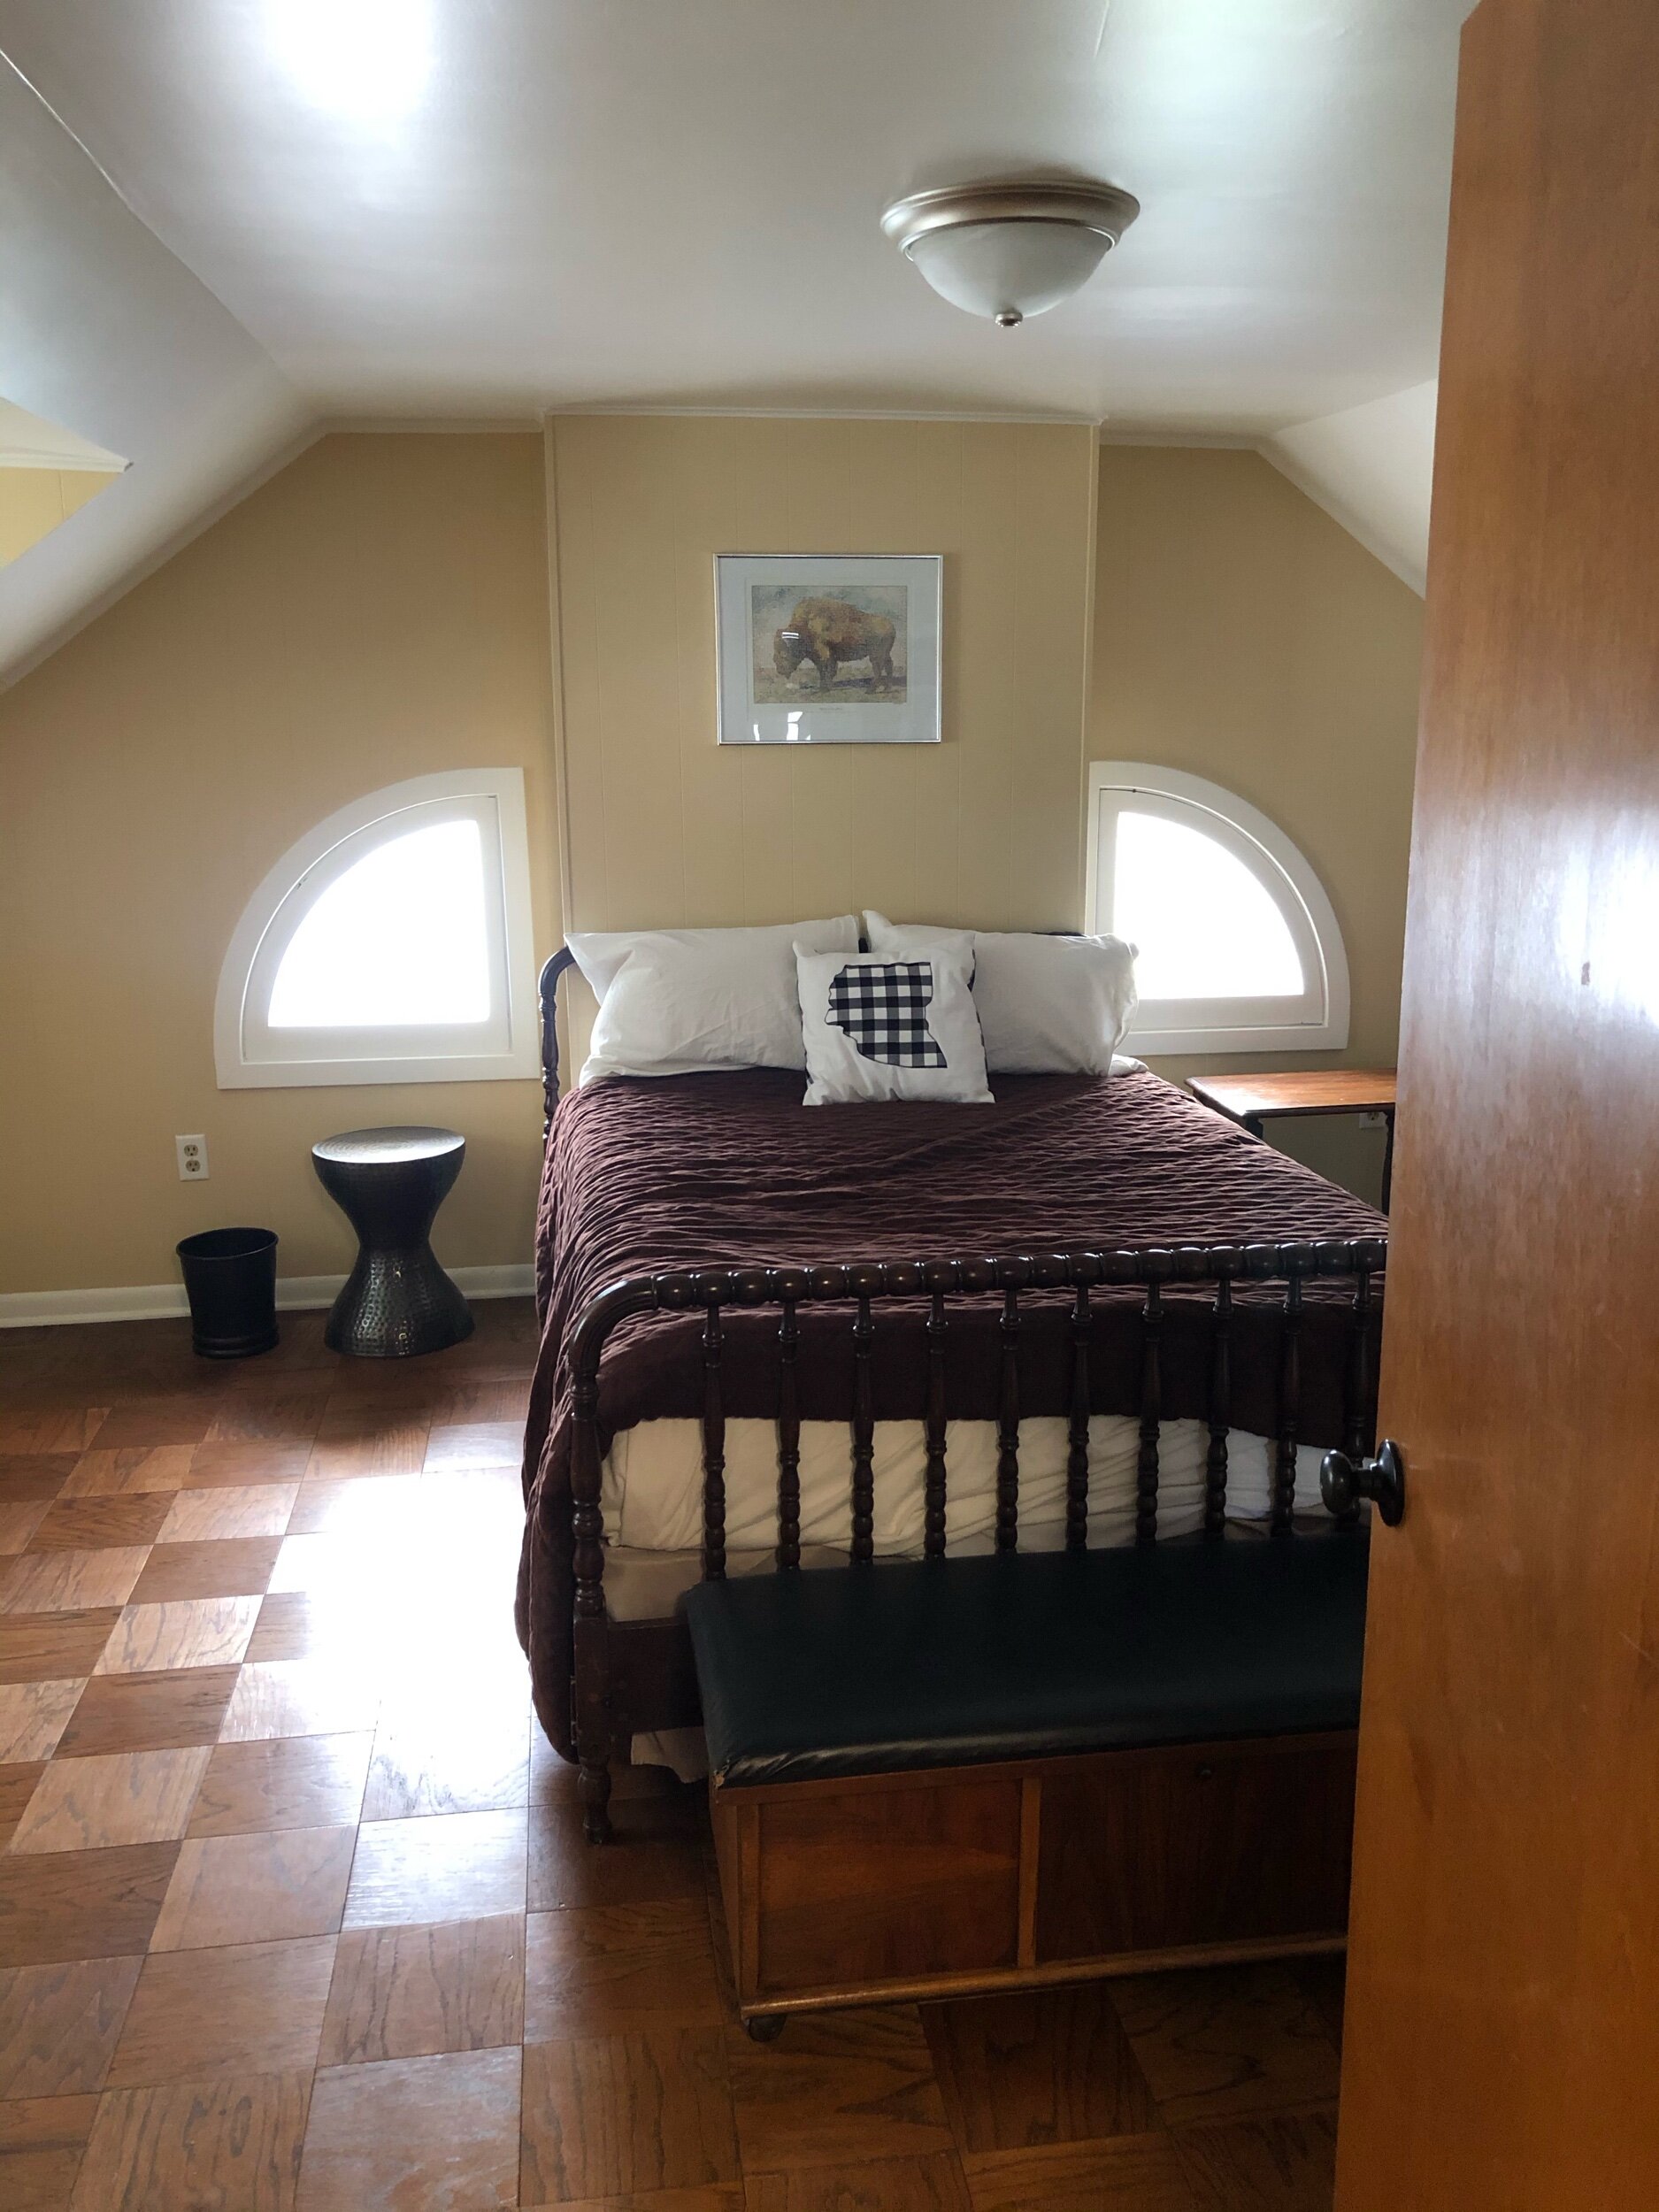
AFTER — Guest bedroom. She just needed some lights, a plant, and some new linens! This comforter is no longer available. I find that in May or June Target has really inexpensive bedding targeted to college students. Most patterns are odd, but they will usually have a simple one. This was less than $30! I still want to get a ceiling fan for this room (the last of the boob lights in our house!)


Before — Guest bedroom looking out.

AFTER — Guest bedroom looking out. The biggest project here was the doors! We kept the same hollow wood doors and bought trim pieces from Lowes to make it look like a paneled door. Paint, inexpensive doorknobs, and done!

BEFORE — Office. When you come up the stairs to the right, we have the office and an extra bed for guests. I did not photograph the office side since my husband and I are both working from home and its a mess!

AFTER — Office. No pictures! Still a mess from Christmas gift wrapping central and work disaster. But this room got the same treatment, wall paint and door trim and paint. The bed setup and chair are basically the same in here but with cute, fluffier pillows :)
This post may contain affiliate links. If you purchase something after clicking the link, I may receive a small commission, at no extra cost to you. I appreciate your support!