DIY Shibori Napkins
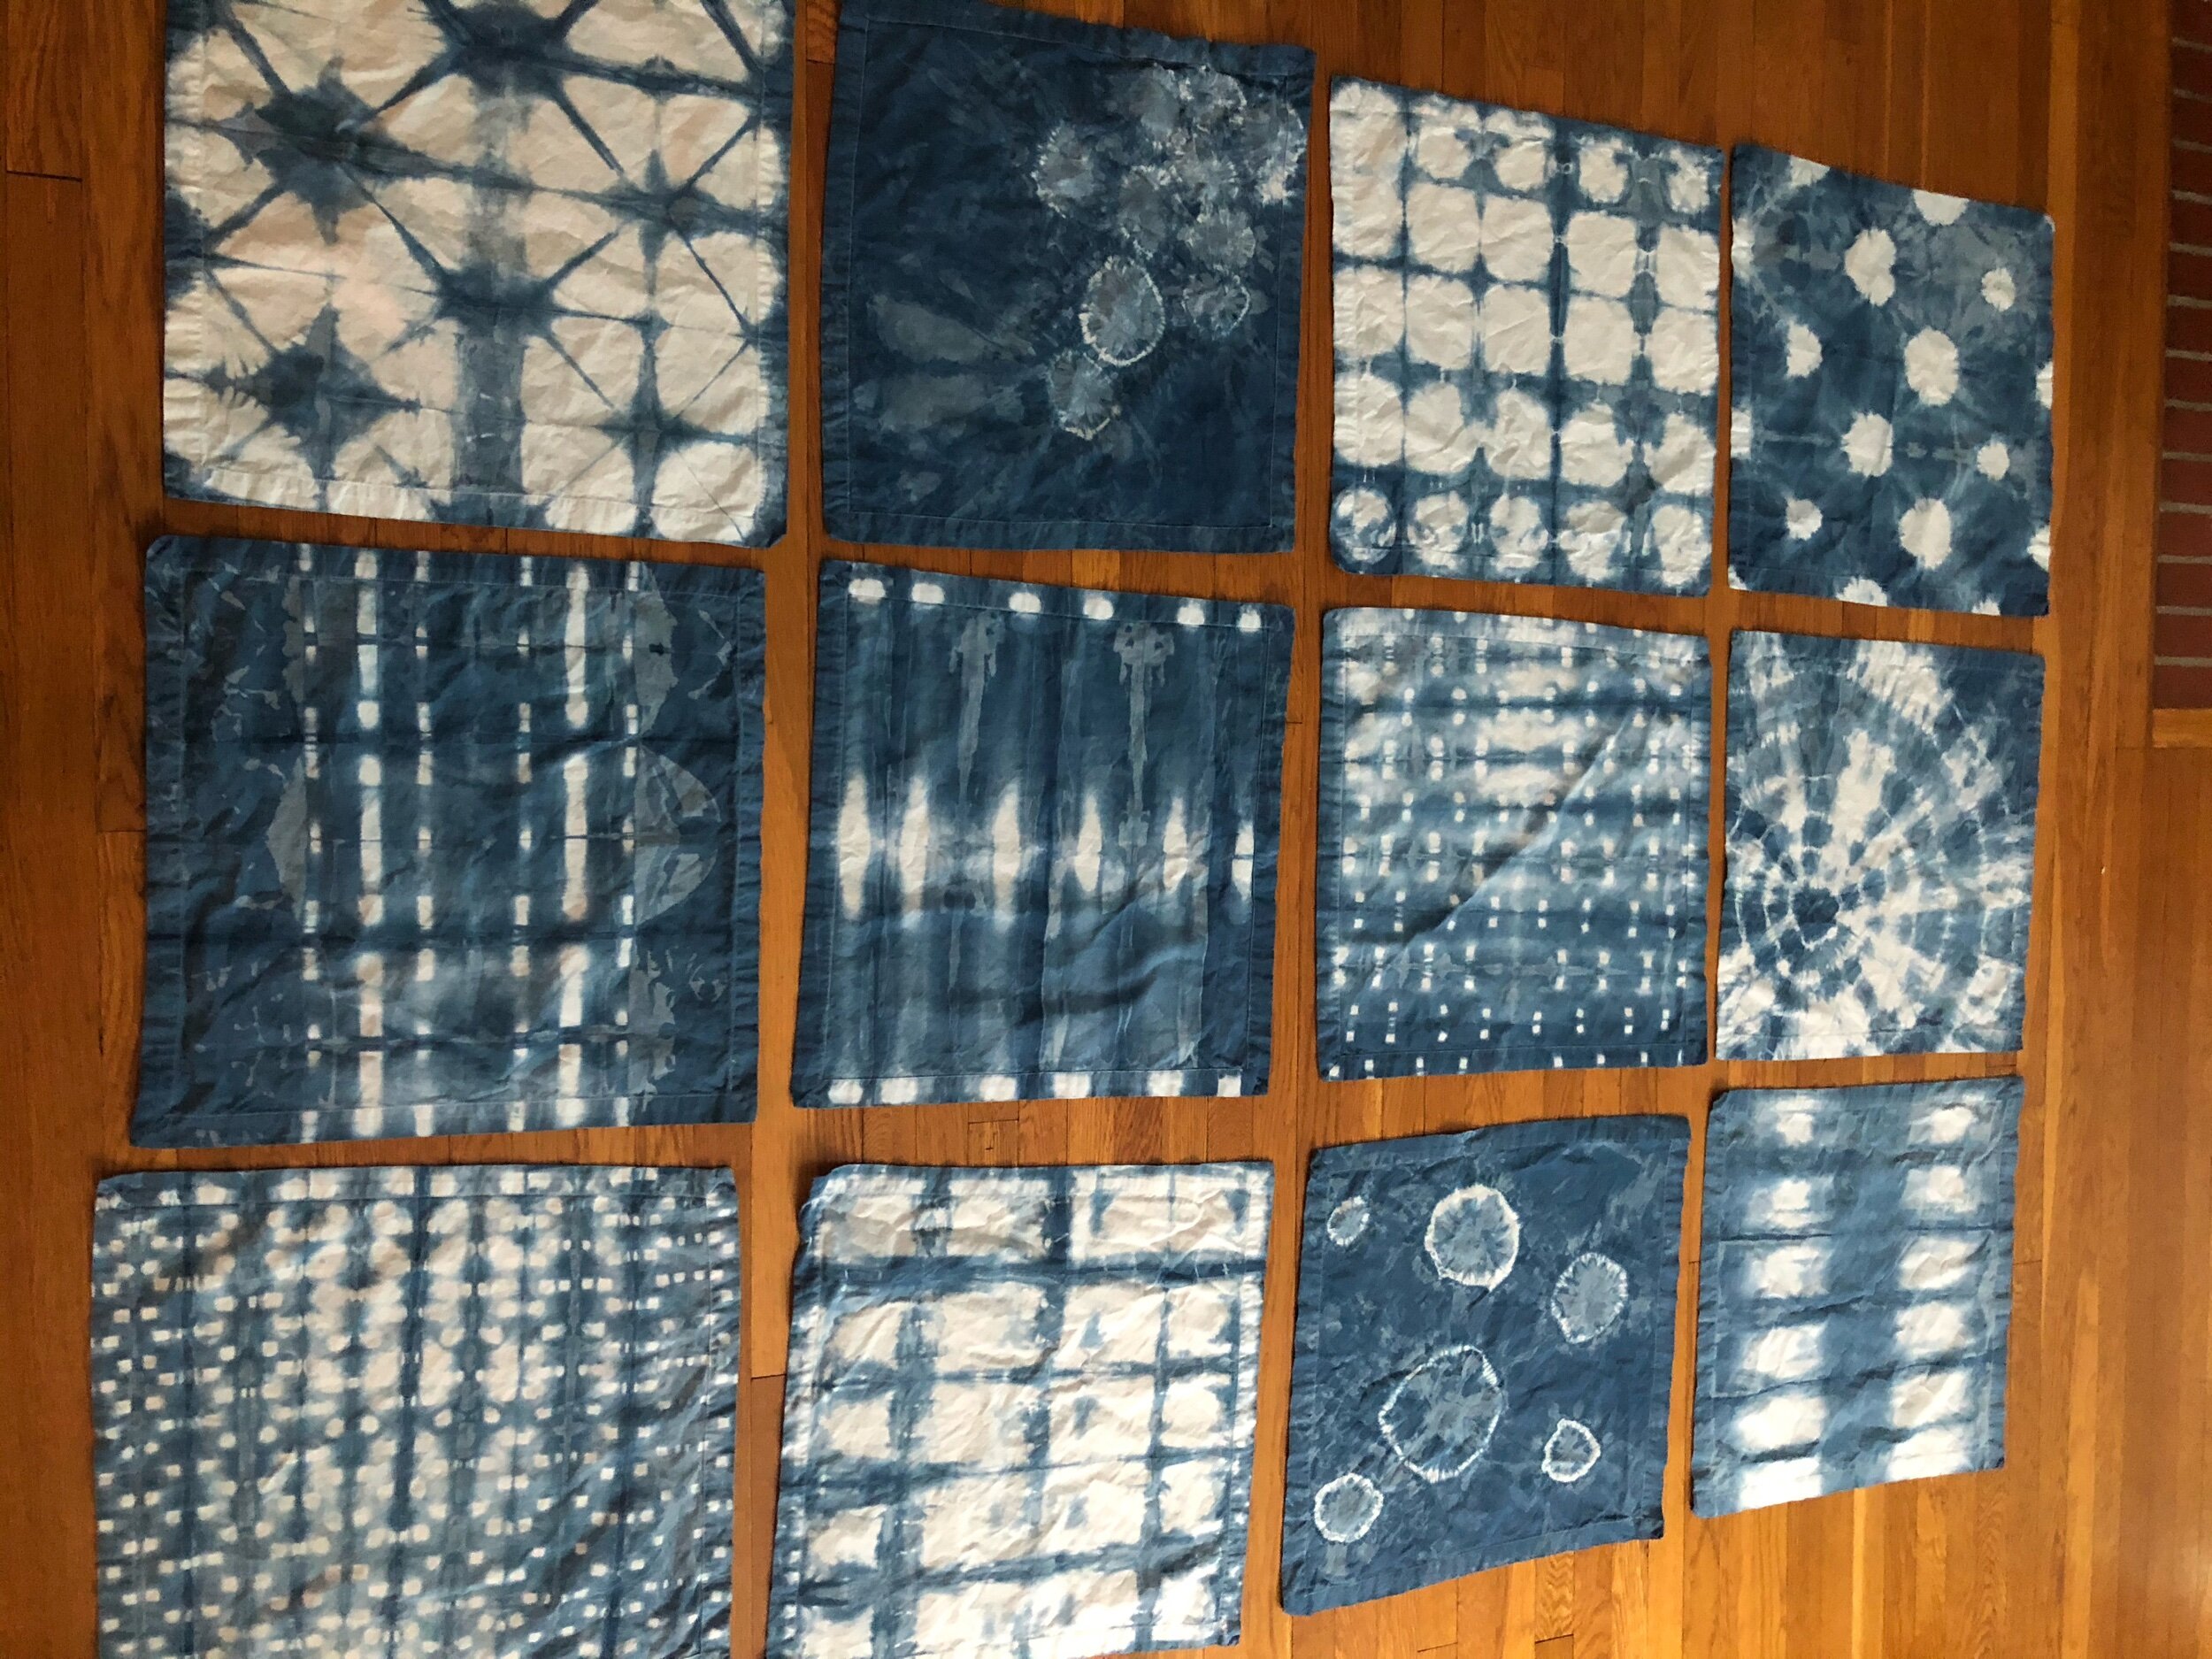
I’ve been wanting to attempt shibori napkins for awhile now and I finally took the plunge! It took me 2 tries 😬 but I’m glad they turned out the second time!!
What I learned the first time:
You need to actually use the correct dye. The “navy” in my son’s leftover tie dye kit (which I even mixed with a little black to help darken it a bit) turned out super light blue
Binder clips can rust when wet and ruin the fabric (which I can’t get out!) — this is the main reason I let myself try again
I’ve been too intimidated to make these for so long, but they were honestly easier than I thought they would be! I don’t know if you need this disclaimer, but I am obviously a beginner! So take what I say with a grain of salt.
These are the napkins I bought — I wanted 12 napkins and didn't want to spend a ton of money (I wasn’t sure how they would turn out). They are just fine, but on the thinner side. If I didn't need as many, or was giving them as a gift, or had older kids that aren’t as messy as mine, or was fine spending more money, I’d have used these napkins that are a bit thicker.
This is the dye I used. You know Amazon prices can be weird — I spent about $10 so shop around. It makes a huge vat of dye and I really wish I’d used half for just these napkins. I have a ton left over.
Most of the patterns start with an accordion fold and some use wooden blocks. The kit came with two small blocks; I scoured my husband’s scrap wood collection for the rest.
This started with an accordion fold (fold, flip, fold the opposite way) all the way across and an accordion fold the other way and then was sandwiched with the wood blocks that came with the kit and secured with rubber bands.
This also started with an accordion fold and was folded in half then sandwiched between paint stirrers secured together with rubber bands.
This got accordion folded completely one way and then the other way. I sandwiched it between two bell canning jar lids and secured with rubber bands.
This is an accordion fold and then folded in half and sandwiched between two wood blocks and rubber bands.
I folded this one like a flag and sandwiched it between two triangular wooden blocks and rubber bands.
Old school tie dye here — just pinch and secure with rubber bands.
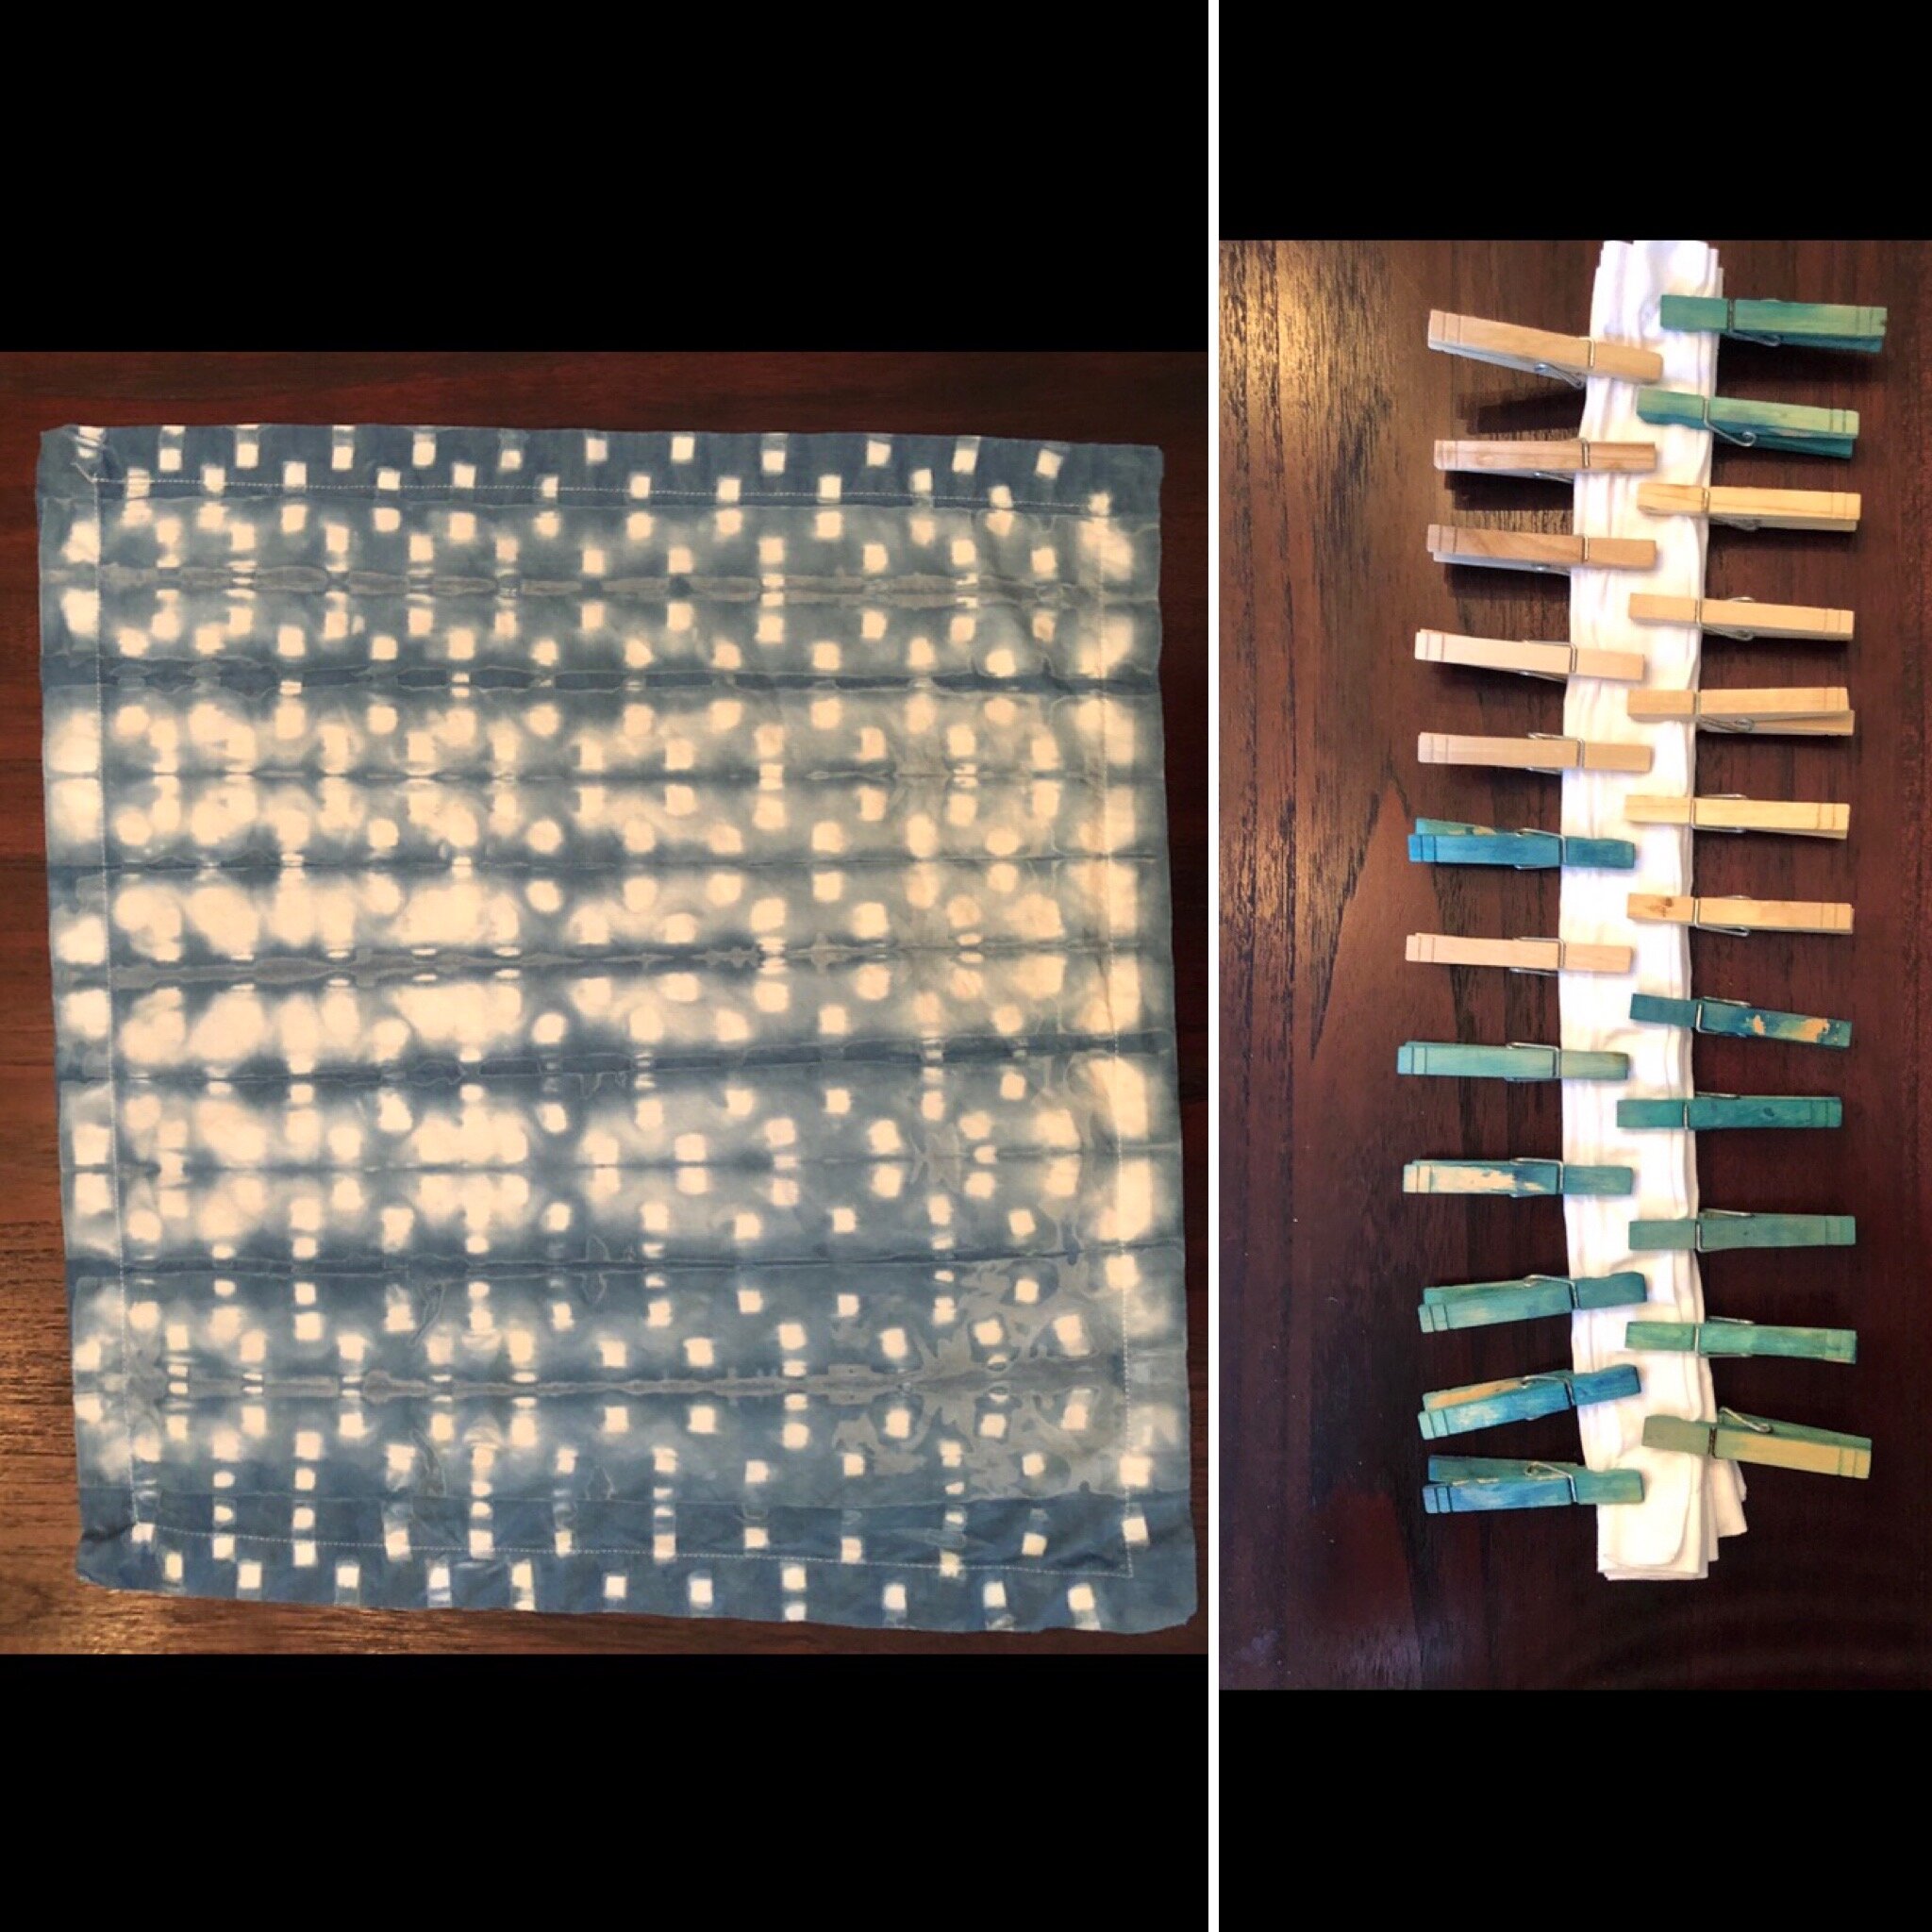
This is accordion folded and then folded in half and secured with clothespins.
This is basically the same as the one above just not folded in half. I wanted to see how that would change the pattern.
Another old school tie dye — just pinch and secure with rubber bands.
This is accordion folded and then folded in half. I tried making a pattern with popsicle sticks and scrap wood secured with rubber bands. It’s hard to see but the fabric is sandwiched — so there are a total of 4 popsicle sticks and 2 scrap wood pieces.
I put rocks under the fabric and used a rubber band under each one to secure it.
This was probably the most complicated but also my favorite. I made a square pocket and rubberbanded the corners with Saran Wrap. You could probably just pinch the fabric where you want it to be white and put Saran Wrap on it to make the same effect.
There they are again! So fun!
This post contains affiliate links. If you purchase something after clicking a link, I may receive a small commission at no extra cost to you. Thank you for your support!


