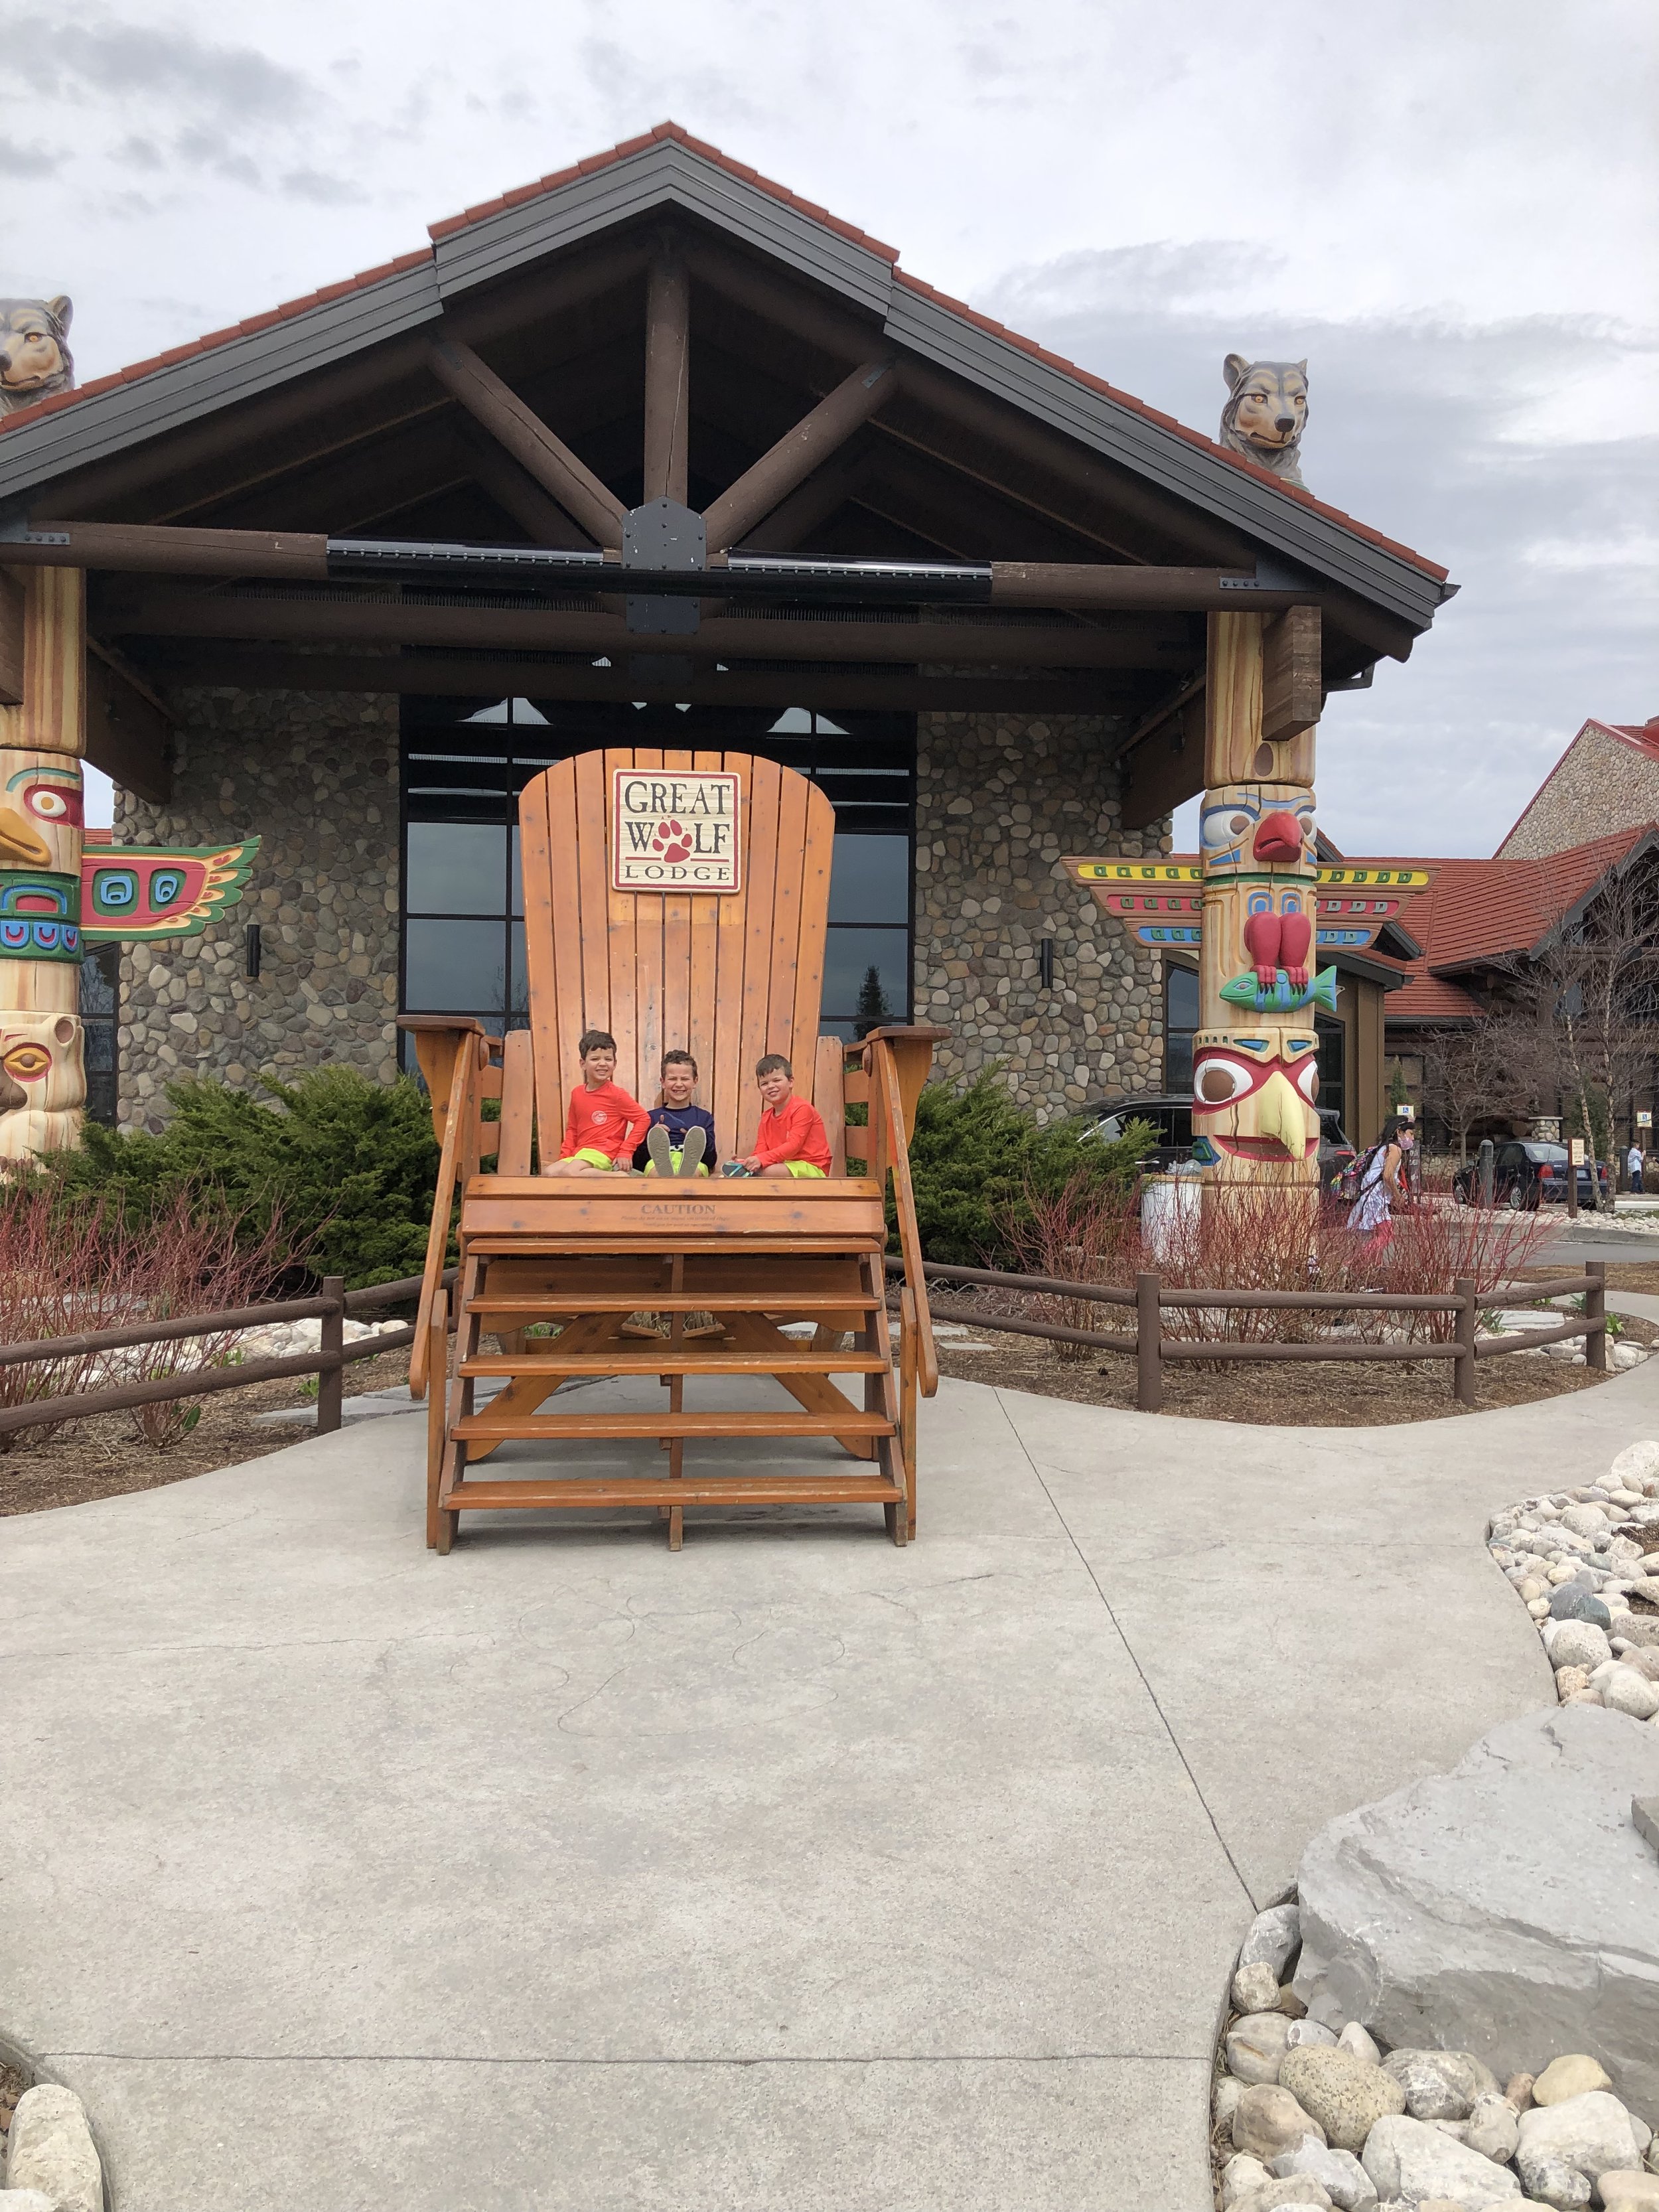
Great Wolf Lodge Tips
We just got back from a quick overnight trip to Great Wolf Lodge and thought I would share some details for some asking. We went to the Great Wolf Lodge in Ontario, Canada.
Getting over the border in time of Covid
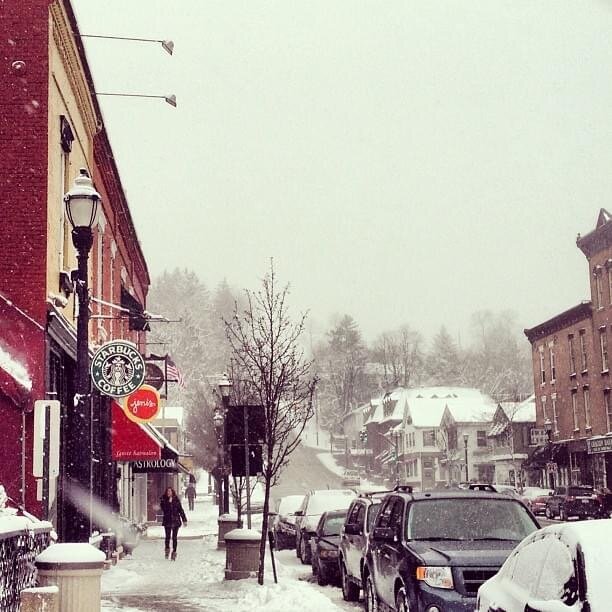
Going over the border was quick and painless with an extra step. All 5 of us are vaccinated. We had to fill out information on the ArriveCAN app prior to our arrival which was a bit of extra work but was all done ahead of time. My husband and I had our passports and we just needed birth certificates for the kids. At the time we went, the Peace Bridge in downtown Buffalo, NY was the only one taking regular travelers. We waited for about 10 minutes at the border each way. We did have trouble with our phone service (this is never a problem for us when we cross the border), but after turning my phone off and on it worked again. But just in case, have directions printed out and if you get lost in Canada, follow signs for Niagara Falls (it’s VERY close to NF) and don’t fret— Canadians are the actual nicest people on earth.
Quick Tips about GWL:
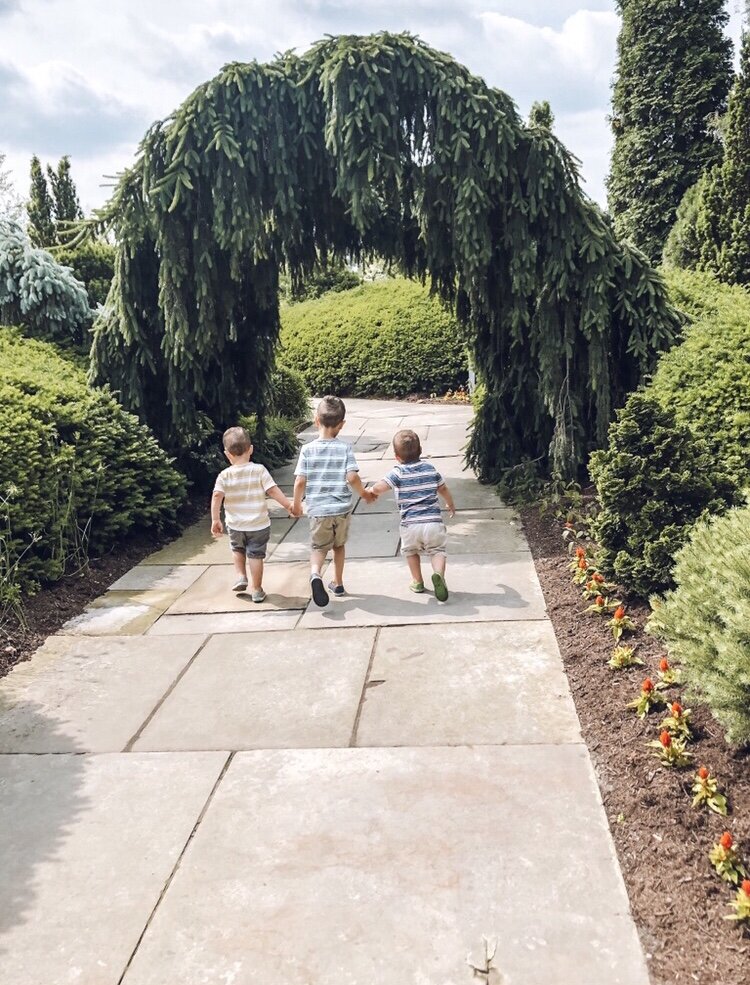
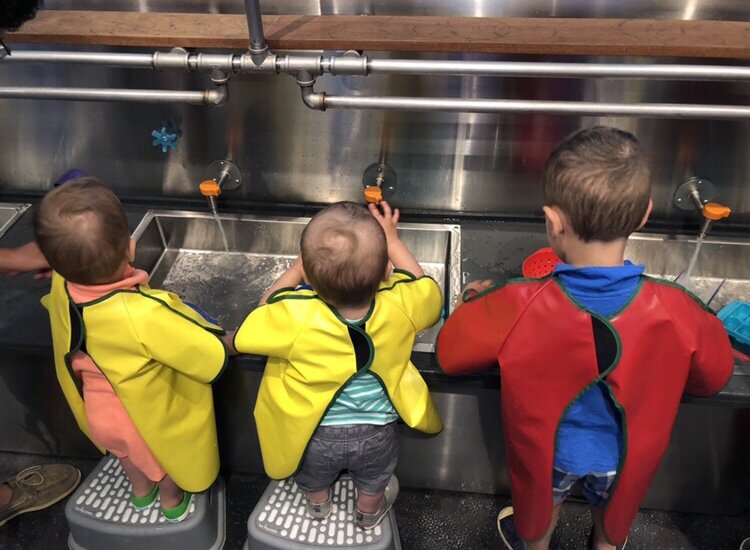
If you have multiple children, dress them all in the same bright colored rash guards for quick scanning
Pack a small bag of swim clothes for when you get there before checking in and leave your things in your car
Bring extra empty garbage / plastic bags for wet clothes
Don’t bring locks or towels— they have them for you to use there
There is an adult-only outdoor hot tub! The entrance is in the very back hiding under the large slides. It is pure magic to be able to escape the sensory overload if you can sneak away from your kids somehow!
Put all belongings in your locker (no pictures for us! but it was nice not having to stress about taking photos honestly!)
Use your walkie-talkie on your apple watch to communicate with your partner
They have babysitting at night but you have to register by 4pm!
Food was not impressive
Get the room with the cabin bunks — the kids loved those!
Would not recommend any packages; see “extras” below
You all wear a band on your wrist the entire time which you can use to purchase items, get into your room, and get towels
More details:
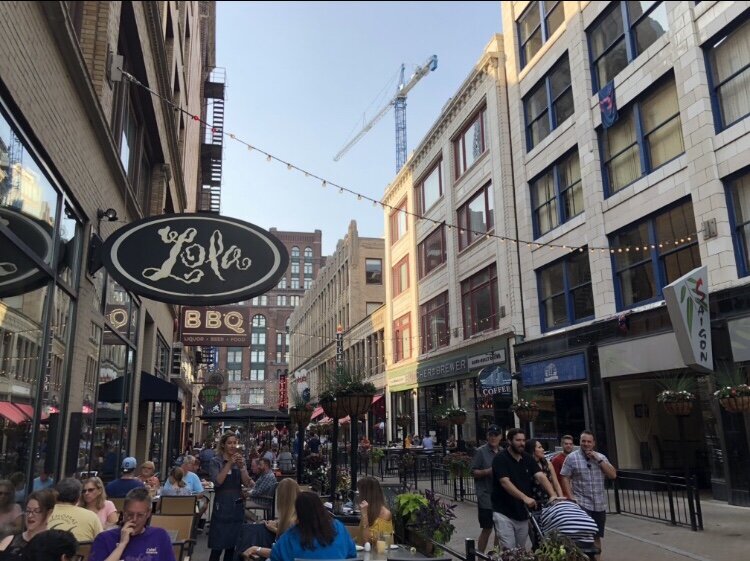
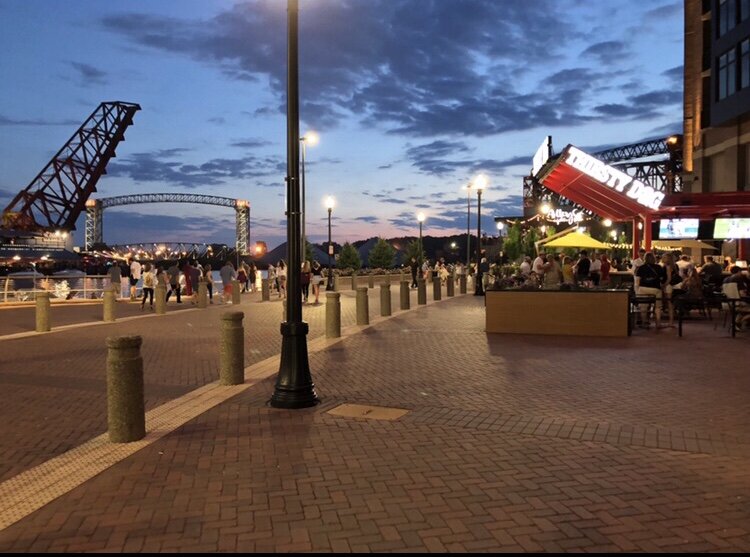
FOOD: We were very disappointed in the food. On the website, it mentioned 2 restaurants— it is the same restaurant; they labeled each side a different name. It was buffet only and very expensive. We are not big buffet people, so we skipped this for dinner and lunch. There is a pizza restaurant which would be good for takeout in your room (we also got breakfast sandwiches there — not great but much cheaper than the buffet). There are two restaurants in the water park which were very convenient. We only ate at one; it was hot dogs and hamburgers with chicken fingers and fries. I got the bean burger which was actually tasty but the wait was forever and there was not many seats and you cannot remove the food from that area. Try to eat before the rush at noon. I would also recommend heading into downtown Niagara Falls for dinner. as it is a very short (5 minute?) drive. We went to a burger place called The Works but there was a ton of great places! Also hit up the falls — they light them up at night! They also had a nice coffee shop with some smoothies which we enjoyed and an ice cream / sweets shop which we didn’t utilize.
CABANA: We did not book a cabana. Our kids are 8, 5, 5 and were on the move the entire time. We did not sit at all. They did have a safe for your belongings but we just used a locker. I think these would be helpful if you have a baby or have a large group with multiple families, but we did not sit at all.
EXTRAS: The only “upgrade” we did was the cabin room which was so worth it to us. There was 3 beds in the cabin area and a full/queen for us (wish it was a king) with a couch and a small table with an outdoor patio. We didn't buy any wolf ears or any kind of packages. They had some wizard wand which older kids might enjoy but our kids liked just walking around. They had free yoga and some night time shows that you can read about on their website. The way the lockers work— you rent the size you want in the store area for $5, 10, 15 a day for the size you want plus an extra $10 that you get back when you return the key. When you turn it in, you get the option of getting your $10 back or $15 towards the arcade. We did that the first day and used that money at the arcade. At lunch the next day at the restaurant in the water park, they gave me another $5 towards the arcade for spending over $50. There is also a bowling alley that we did not go to. I think that was $7 per person
CHECK IN: The room is ready at 4pm but you are allowed to use the waterpark starting at 1pm. They have a person in the parking lot that gives you a ticket to check in on your phone and you wait in your car until they text you to go in. I would bring a fun secret surprise activity for your kids to do at this time. We were not prepared for this and the kids were antsy and wanted to go in so bad. We ended up waiting for about 30-40 minutes in the car. CHECK OUT: Checkout is at 11 but you can stay all day at the waterpark. We packed our things except for an outfit to change in.
HOW LONG: Obviously, this depends on you and your family. It was a LOT of sensory overload for my husband and I. It was SO LOUD everywhere. I realized we are the renting a house in a sleepy beach town and ride your bikes to the ice cream shop kind of vacationers and 1 night was a LOT for us. Some people can stay for days. I felt like we were trapped in a small Disney world and 30 hours felt like 30 days. The kids loved it! We also didn’t have to drive too far.
This is exactly what we did:
Day 1: Arrive around 1pm. Wait in the car for 30 minutes. Get wrist bands. Leave all things in the car except small bathing suit bag. Rent lockers. Change. Play in water park from 2pm - dinnertime. Get out things and into our room. Quick shower. Drive into Niagara Falls for dinner. Back to the hotel and played in the arcade with money we got from returning our locker key. Boys wild and went to bed late.
Day 2: Sad they skipped yoga. Boys got a latte for me at the coffee shop and breakfast at the pizza place and we ate in our room (wish had brought our own breakfast food). Pack our bags and car, keep a small bag of clothes to change into. Water park by 9am. Lots of slides and swimming and noise. Lunch around 12:30 in the water park. We could have stayed longer but we were all DONE. Changed and drove home!